
Notice
Recent Posts
Recent Comments
Link
| 일 | 월 | 화 | 수 | 목 | 금 | 토 |
|---|---|---|---|---|---|---|
| 1 | 2 | 3 | 4 | 5 | 6 | |
| 7 | 8 | 9 | 10 | 11 | 12 | 13 |
| 14 | 15 | 16 | 17 | 18 | 19 | 20 |
| 21 | 22 | 23 | 24 | 25 | 26 | 27 |
| 28 | 29 | 30 |
Tags
- 모듈 프로젝트
- Foxyproxy#install#setting#firefox
- rocky linux#siem#project#threat detection#soc#onpremise#ids#python#csv#pipeline#kali linux#DVWA#security monitoring
- 클라우드기반 보안 시스템 구축/운영 실무
- DVWA#INSTALL#github#security#kali#linux
- 모의침투
- 쉴더스
- VMWARE#INSTALL#설치
- 모듈프로젝트
- 개인정보보호
- Case Study
- 클라우드 보안 기반
- 애플리케이션 보안 기술
- 인프라 활용을 위한 파이썬
- AI #취업
- 기술 특강 및 OT
- 29기
- 클라우드 기반
- sk 쉴더스 루키즈
- 클라우드 보안 기술
- Kali#Linux#KALI#LINUX#INSTALL#github#설치
- 시스템-네트워크 보안 기술
- kisa #보안관제
- DVWA#Brute#Force#Attack#Test#Kali#Linux#Medium#Level#sleep
- #루키즈
- 루키즈
- Kali#Linux#Brute#Force#Attack#Test#DVWA#Hacking#Low#무차별#대입#공격#해킹
- 보고서
- sk shieldus
- CERT
Archives
- Today
- Total
이것저것
[SK shieldus Rookies 29기] 7일차 본문
7일차 강의
Flask로 배우는 파이썬 웹 개발 기초부터 실전까지
Naver mail autmaion(구글링 하면 나오니까 다루지 않겠음)
1️⃣ Flask란?
📌 정의
Flask는 경량화된 파이썬 웹 애플리케이션 프레임워크입니다.
복잡하지 않으면서도 강력한 웹 애플리케이션을 개발할 수 있는 도구를 제공합니다.
🌍 웹 개발 언어 비교
| 언어 | 특징 |
|---|---|
| HTML/JavaScript/PHP | 전통적 웹 개발 |
| ASP, .NET | 마이크로소프트 생태계 |
| JSP/JAVA (Spring, Struts) | 엔터프라이즈 환경 |
| Django | 풀스택 파이썬 프레임워크 |
| Flask | 경량 파이썬 프레임워크 ⭐ |
| FastAPI | 고성능 파이썬 프레임워크 |
🔧 Flask의 기술 스택
- WSGI 툴킷: Werkzeug
- 템플릿 엔진: Jinja2
- 장점: 간단함, 유연함, 배우기 쉬움
2️⃣ Flask 설치 및 시작
설치
pip install Flask최소 Flask 앱
from flask import Flask

app = Flask(__name__)

@app.route("/")
def hello_world():
    return "테스트입니다."

if __name__ == '__main__':
app.run(debug=True)파일명: hello.py
Flask 서버 실행
flask --app hello run출력:
WARNING: This is a development server.
Do not use it in a production deployment.
Use a production WSGI server instead.
⚠️ 주의: 개발용 서버이므로 프로덕션에서는 WSGI 서버 사용 권장
로컬 서버 접속
브라우저에서 다음 주소로 접속:
http://127.0.0.1:5000/서버 중지
Ctrl + C3️⃣ 라우팅(Routing) 기본
📌 라우팅이란?
사용자가 특정 URL에 접근할 때 해당 함수를 실행하여 응답을 반환하는 매커니즘입니다.
🎯 의미 있는 URL의 중요성
현대 웹 애플리케이션은 사용자에게 의미 있는 URL을 제공하여 사용자 경험을 향상시킵니다.
- ✅ 사용자가 기억하기 쉬움
- ✅ 직접 방문 가능
- ✅ 재방문율 증가
route( ) 데코레이터
from flask import Flask

app = Flask(__name__)

# "/" 경로에 접근할 때 index() 함수 호출
@app.route("/")
def index():
    return '<h1>Index Page</h1>'

# "/hello" 경로에 접근할 때 hello() 함수 호출
@app.route("/hello")
def hello():
    return '<h1>Hello Page</h1>'

if __name__ == '__main__':
    app.run(debug=True)
접속 주소:
http://127.0.0.1:5000/→ "Index Page"http://127.0.0.1:5000/hello→ "Hello Page"
4️⃣ HTML 템플릿 사용
📌 템플릿이란?
동적으로 내용을 변경할 수 있는 HTML 파일입니다.
Flask는 Jinja2 템플릿 엔진을 사용합니다.
디렉토리 구조
project/
├── app.py
└── templates/
    ├── index.html
    └── 2.html
Flask 앱 (app.py)
from flask import Flask, render_template

app = Flask(__name__)

@app.route('/')
def index():
    return render_template('index.html')

@app.route('/2')
def hello():
    return render_template('2.html')

if __name__ == '__main__':
    app.run(debug=True)
템플릿 파일 (templates/index.html)
<!DOCTYPE html>
<html lang="en">
<head>
    <meta charset="UTF-8">
    <meta name="viewport" content="width=device-width, initial-scale=1.0">
    <title>Home</title>
</head>
<body>
    <h1>홈페이지 테스트</h1>
</body>
</html>
템플릿 파일 (templates/2.html)
<!DOCTYPE html>
<html lang="en">
<head>
<meta charset="UTF-8">
<meta name="viewport" content="width=device-width, initial-scale=1.0">
<title>Page 2</title>
</head>
<body>
<h1>두번째 페이지</h1>
</body>
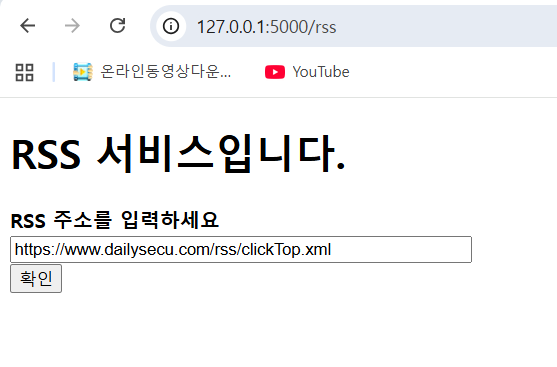
</html>5️⃣ 실습 1️⃣: RSS 서비스
📌 요구사항
- 사용자에게 RSS URL 입력받기
- feedparser로 RSS 파싱
- 결과를 테이블로 표시
디렉토리 구조
project/
├── app.py
├── templates/
│   ├── index.html
│   └── rss.html
└── static/
    └── style.css
Flask 앱 (app.py)
from flask import Flask, render_template, request
import feedparser

app = Flask(__name__)

@app.route("/")
def index():
    return render_template('index.html')

@app.route("/rss", methods=['GET', 'POST'])
def rss():
    rss_url = request.form['rss_url']
    feed = feedparser.parse(rss_url)
    return render_template('rss.html', feed=feed)

if __name__ == '__main__':
    app.run(debug=True)
입력 페이지 (templates/index.html)
<!DOCTYPE html>
<html lang="en">
<head>
    <meta charset="UTF-8">
    <meta name="viewport" content="width=device-width, initial-scale=1.0">
    <title>RSS 서비스</title>
</head>
<body>
    <h1>RSS 서비스</h1>
    <form method="post" action="{{ url_for('rss') }}">
        <b>RSS 주소를 입력하세요.</b><br>
        <input type="text" name="rss_url" size="50"><br>
        <button type="submit">확인</button>
    </form>
</body>
</html>
결과 페이지 (templates/rss.html)
<!DOCTYPE html>
<html lang="en">
<head>
    <meta charset="UTF-8">
    <meta name="viewport" content="width=device-width, initial-scale=1.0">
    <title>RSS 결과</title>
    <link rel="stylesheet" type="text/css" href="{{ url_for('static', filename='style.css') }}">
</head>
<body>
    <h1>RSS 결과 페이지</h1>
    <table border="1">
        <tr>
            <th>제목</th>
            <th>링크</th>
            <th>요약</th>
        </tr>
        {% for entry in feed.entries %}
        <tr>
            <td>{{ entry.title }}</td>
            <td><a href="{{ entry.link }}">{{ entry.link }}</a></td>
            <td>{{ entry.description }}</td>
        </tr>
        {% endfor %}
    </table>
</body>
</html>
스타일시트 (static/style.css)
body {
    font-family: Arial, sans-serif;
}

h1 {
    color: #333;
}

table {
    border-collapse: collapse;
    width: 100%;
}

th, td {
    border: 1px solid #ddd;
    padding: 8px;
    text-align: left;
}

th {
    background-color: #f2f2f2;
}

tr:nth-child(even) {
    background-color: #f9f9f9;
}

tr:hover {
    background-color: #f5f5f5;
}
결과

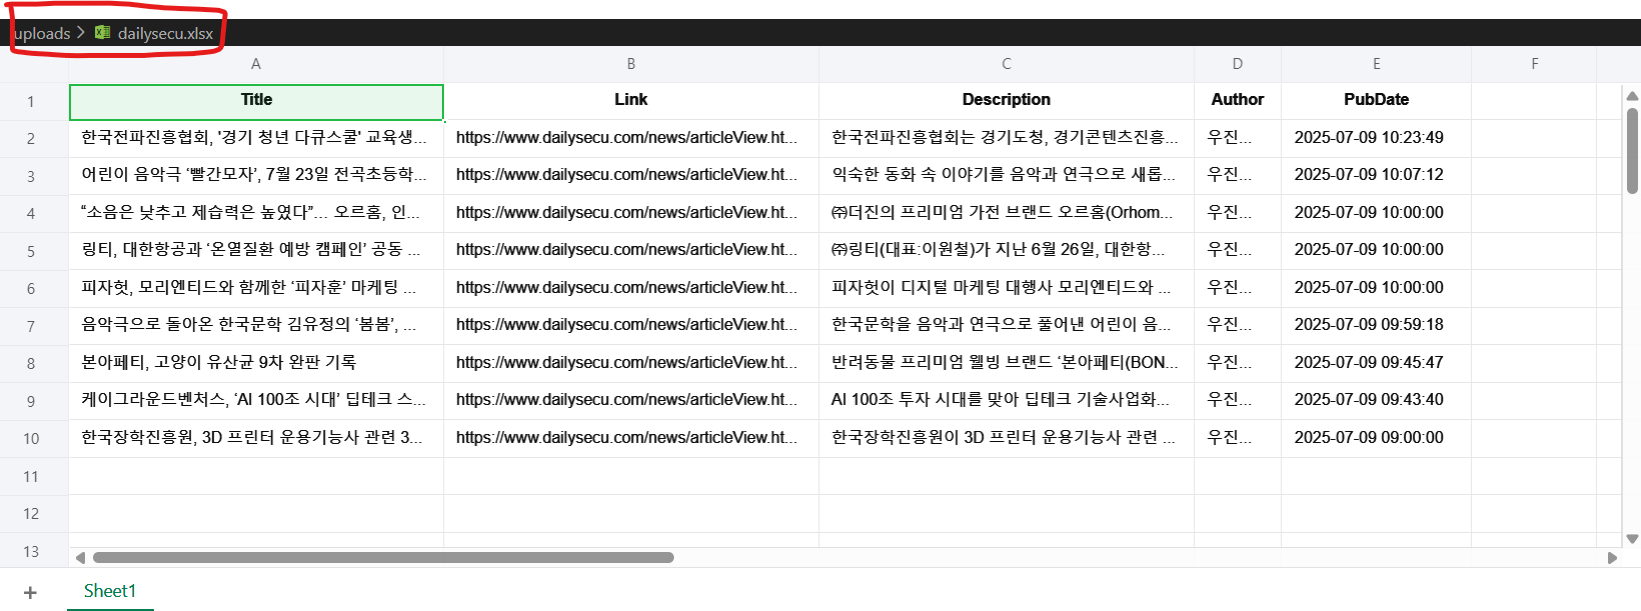
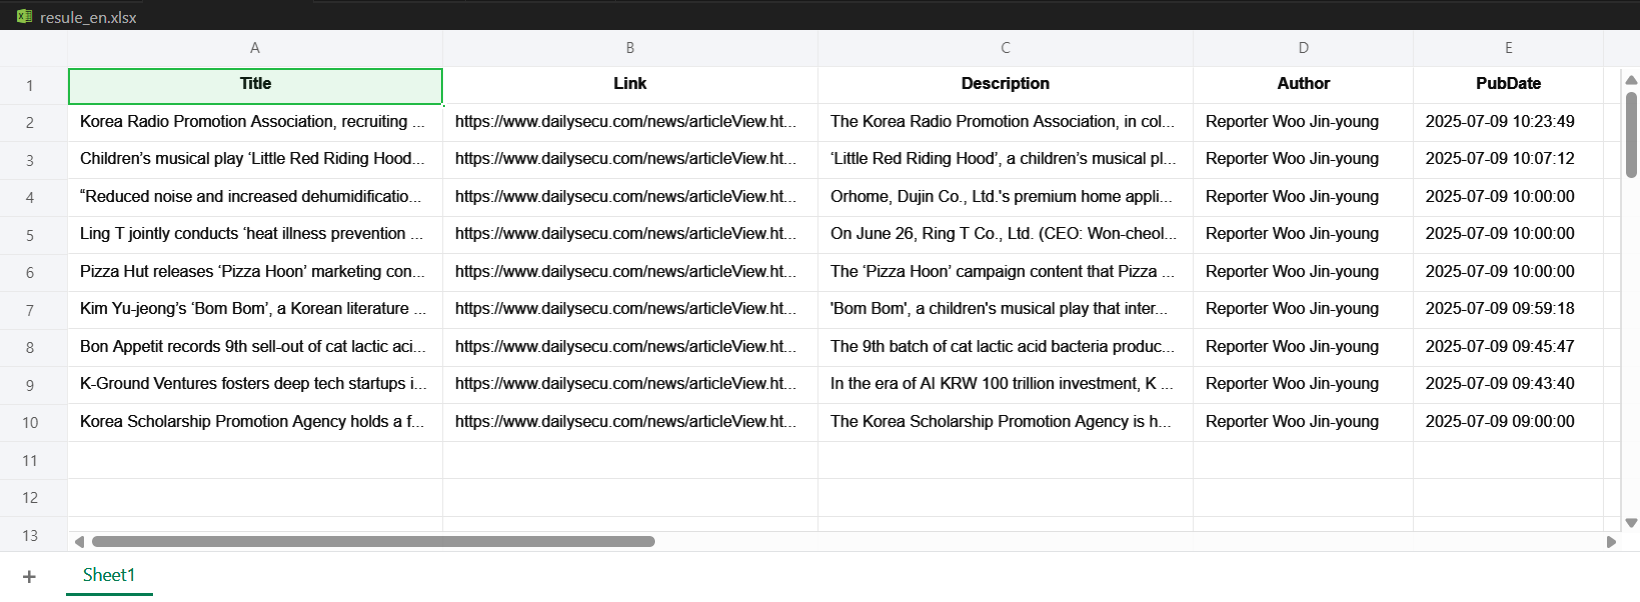
6️⃣ 실습 2️⃣: 번역 서비스
📌 요구사항
- Excel 파일 업로드
- 파일 내용을 한글 → 영문 번역
- 번역된 파일 다운로드
필수 라이브러리 설치
pip install python-docx openpyxl deep_translator디렉토리 구조
project/
├── app.py
├── templates/
│   ├── index.html
│   └── result.html
└── uploads/
Flask 앱 (app.py)
from flask import Flask, render_template, request, send_file
import os
from openpyxl import load_workbook
from deep_translator import GoogleTranslator

app = Flask(__name__)

@app.route('/')
def index():
    return render_template('index.html')

@app.route('/upload', methods=['GET', 'POST'])
def upload():
    # 파일 저장
    file = request.files["file"]
    file.save(os.path.join("uploads", file.filename))

    # 엑셀 파일 로드
    workbook = load_workbook(os.path.join("uploads", file.filename))
    sheet = workbook.active

    # 셀별 번역
    for row in sheet.iter_rows():
        for cell in row:
            if cell.value:
                translated_text = GoogleTranslator(
                    source='ko',
                    target='en'
                ).translate(cell.value)
                cell.value = translated_text

    # 결과 저장
    workbook.save('result_en.xlsx')
    return render_template('result.html')

@app.route('/download_report')
def download_report():
    return send_file('result_en.xlsx', as_attachment=True)

if __name__ == '__main__':
    app.run(debug=True)
입력 페이지 (templates/index.html)
<!DOCTYPE html>
<html lang="en">
<head>
    <meta charset="UTF-8">
    <meta name="viewport" content="width=device-width, initial-scale=1.0">
    <title>번역 서비스</title>
</head>
<body>
    <h1>번역할 파일(xlsx)을 올리세요.</h1>
    <form method="POST" action="{{ url_for('upload') }}" enctype="multipart/form-data">
        <input type="file" name="file" required><br><br>
        <input type="submit" value="업로드">
    </form>
</body>
</html>
결과 페이지 (templates/result.html)
<!DOCTYPE html>
<html lang="en">
<head>
    <meta charset="UTF-8">
    <meta name="viewport" content="width=device-width, initial-scale=1.0">
    <title>번역 완료</title>
</head>
<body>
    <h1>번역이 완료되었습니다!</h1>
    <form action="{{ url_for('download_report') }}">
        <input type="submit" value="다운로드">
    </form>
</body>
</html>
결과
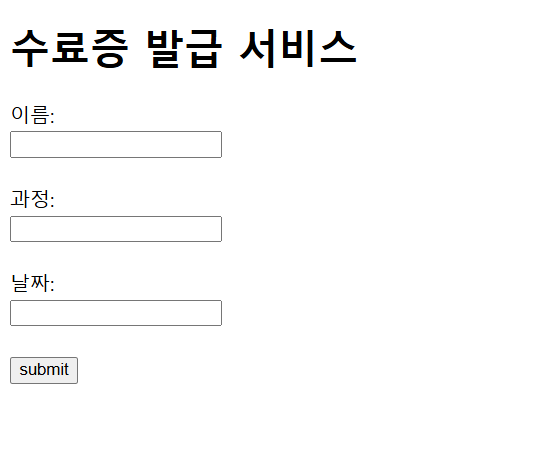
7️⃣ 실습 3️⃣: 수료증 발급 시스템
📌 요구사항
- 사용자에게 이름, 과정, 날짜 입력받기
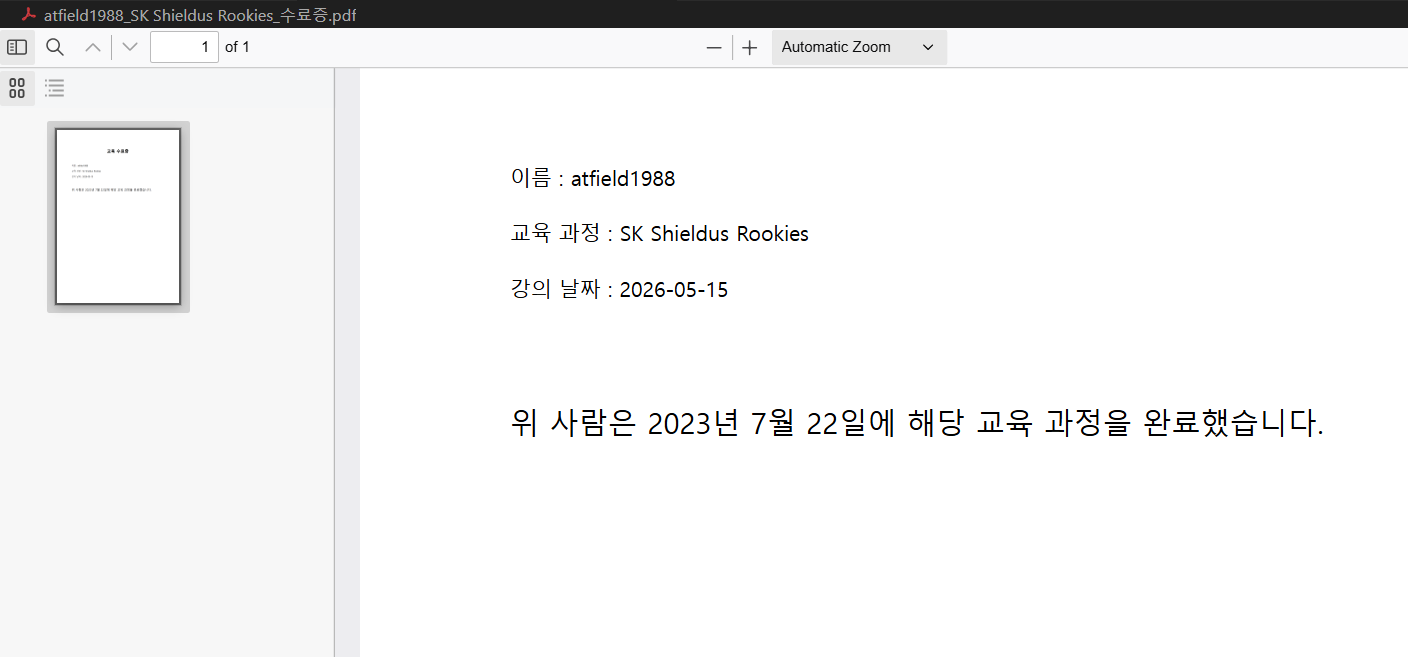
- 템플릿 Word 파일 기반 수료증 생성
- PDF 변환 후 자동 다운로드
필수 라이브러리 설치
pip install python-docx docx2pdfFlask 앱 (app.py)
from flask import Flask, render_template, request, send_file
from docx import Document
from docx2pdf import convert

app = Flask(__name__)

@app.route('/', methods=['GET', 'POST'])
def certificate():
    if request.method == 'POST':
        # 폼에서 데이터 받기
        name = request.form['name']
        course = request.form['course']
        date = request.form['date']

        # 템플릿 문서 로드
        doc = Document("template.docx")

        # 텍스트 변환
        for paragraph in doc.paragraphs:
            if 'NAME' in paragraph.text:
                paragraph.text = paragraph.text.replace('NAME', name)
            elif 'COURSE' in paragraph.text:
                paragraph.text = paragraph.text.replace('COURSE', course)
            elif 'DATE' in paragraph.text:
                paragraph.text = paragraph.text.replace('DATE', date)

        # 파일명 설정
        doc_filename = f"{name}_{course}_certificate.docx"
        pdf_filename = f"{name}_{course}_certificate.pdf"

        # 문서 저장 및 PDF 변환
        doc.save(doc_filename)
        convert(doc_filename, pdf_filename)

        # PDF 다운로드
        return send_file(pdf_filename, as_attachment=True)

    return render_template('index.html')

if __name__ == "__main__":
    app.run(debug=True)
입력 페이지 (templates/index.html)
<!DOCTYPE html>
<html>
<head>
    <meta charset="UTF-8">
    <title>수료증 발급 서비스</title>
    <style>
        body {
            font-family: Arial, sans-serif;
            max-width: 500px;
            margin: 50px auto;
        }
        form {
            border: 1px solid #ddd;
            padding: 20px;
            border-radius: 5px;
        }
        input[type="text"], input[type="date"] {
            width: 100%;
            padding: 8px;
            margin: 10px 0;
            box-sizing: border-box;
        }
        input[type="submit"] {
            background-color: #4CAF50;
            color: white;
            padding: 10px 20px;
            border: none;
            border-radius: 4px;
            cursor: pointer;
        }
    </style>
</head>
<body>
    <h1>수료증 발급 서비스</h1>

    <form method="POST">
        <label for="name"><b>이름:</b></label><br>
        <input type="text" id="name" name="name" required><br>

        <label for="course"><b>과정:</b></label><br>
        <input type="text" id="course" name="course" required><br>

        <label for="date"><b>수료 날짜:</b></label><br>
        <input type="date" id="date" name="date" required><br><br>

        <input type="submit" value="수료증 발급">
    </form>
</body>
</html>
결과
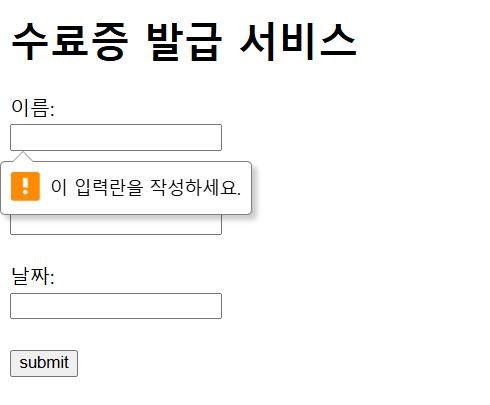
- 이 입력란을 작성하세요. -> required를 사용
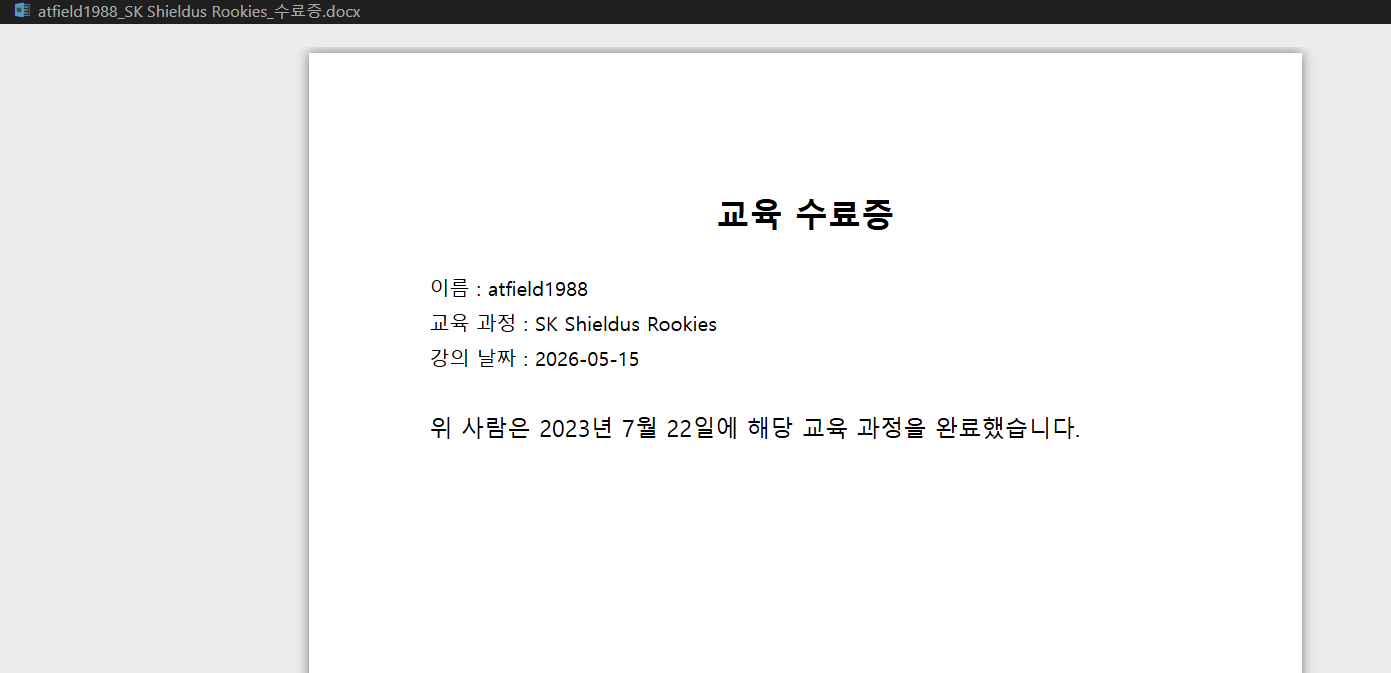
docx
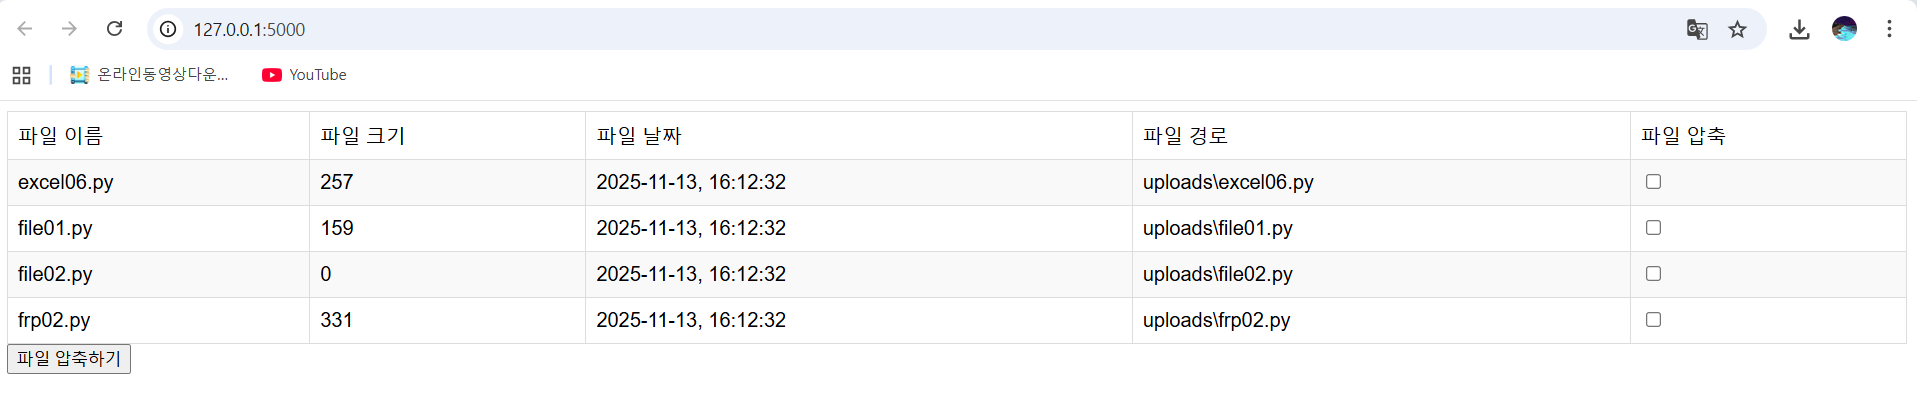
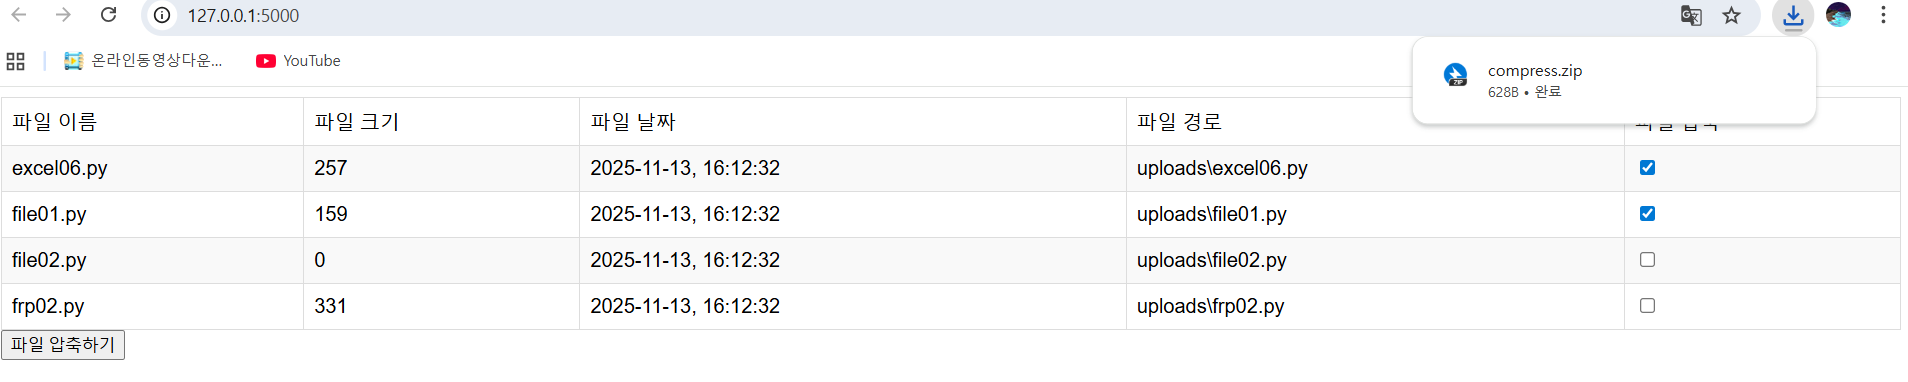
8️⃣ 실습 4️⃣: 파일 목록 및 압축 서비스
📌 요구사항
- uploads 폴더의 파일 목록 표시
- 파일 정보(크기, 생성일) 표시
- 다중 선택 후 압축 다운로드
Flask 앱 (app.py)
from flask import Flask, render_template, request, send_file
import os
from datetime import datetime
import zipfile

app = Flask(__name__)

@app.route('/', methods=['GET', 'POST'])
def list_files():
    UPLOAD_PATH = 'uploads'
    files = []

    # uploads 폴더의 모든 파일 정보 수집
    for file in os.listdir(UPLOAD_PATH):
        file_path = os.path.join(UPLOAD_PATH, file)
        file_size = os.path.getsize(file_path)
        file_ctime = datetime.fromtimestamp(
            os.path.getctime(file_path)
        ).strftime('%Y-%m-%d %H:%M:%S')

        files.append((file, file_size, file_ctime, file_path))

    return render_template('list.html', files=files)

@app.route('/compress', methods=['GET', 'POST'])
def compress():
    UPLOAD_PATH = 'uploads'
    selected_files = request.form.getlist("files")
    zip_path = os.path.join(UPLOAD_PATH, "compress.zip")

    # ZIP 파일 생성
    with zipfile.ZipFile(zip_path, "w") as zip_file:
        for file in selected_files:
            file_path = os.path.join(UPLOAD_PATH, file)
            zip_file.write(file_path, file)

    return send_file(zip_path, as_attachment=True)

if __name__ == "__main__":
    app.run(debug=True)
파일 목록 페이지 (templates/list.html)
<!DOCTYPE html>
<html lang="en">
<head>
    <meta charset="UTF-8">
    <meta name="viewport" content="width=device-width, initial-scale=1.0">
    <title>파일 목록</title>
    <link rel="stylesheet" type="text/css" href="{{ url_for('static', filename='style.css') }}">
</head>
<body>
    <h1>파일 목록</h1>

    <form method="post" action="{{ url_for('compress') }}">
        <table border="1">
            <tr>
                <th>파일 이름</th>
                <th>파일 크기 (Byte)</th>
                <th>생성 날짜</th>
                <th>파일 경로</th>
                <th>✓ 선택</th>
            </tr>
            {% for file in files %}
            <tr>
                <td>{{ file[0] }}</td>
                <td>{{ file[1] }}</td>
                <td>{{ file[2] }}</td>
                <td>{{ file[3] }}</td>
                <td><input type="checkbox" name="files" value="{{ file[0] }}"></td>
            </tr>
            {% endfor %}
        </table>
        <br>
        <button type="submit">선택된 파일 압축하기</button>
    </form>
</body>
</html>
스타일시트 (static/style.css)
body {
    font-family: Arial, sans-serif;
    margin: 20px;
}

h1 {
    color: #333;
}

table {
    border-collapse: collapse;
    width: 100%;
    margin-top: 20px;
}

th, td {
    border: 1px solid #ddd;
    padding: 12px;
    text-align: left;
}

th {
    background-color: #f2f2f2;
    font-weight: bold;
}

tr:nth-child(even) {
    background-color: #f9f9f9;
}

tr:hover {
    background-color: #e8e8e8;
}

button {
    background-color: #4CAF50;
    color: white;
    padding: 10px 20px;
    border: none;
    border-radius: 4px;
    cursor: pointer;
    font-size: 14px;
}

button:hover {
    background-color: #45a049;
}
결과
 )
) )
)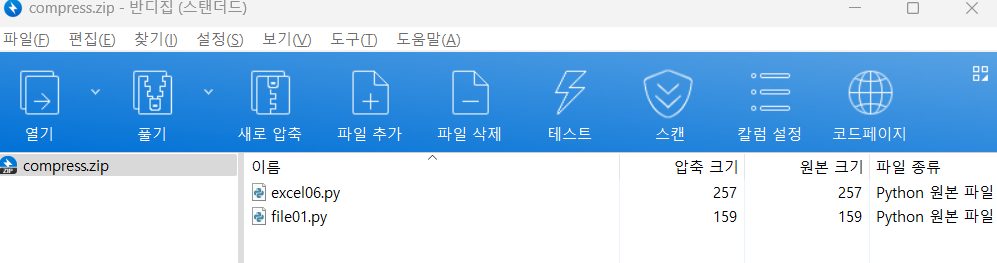
성공!
📋 핵심 개념 정리
✅ Flask 핵심 기능
| 기능 | 설명 |
|---|---|
@app.route() |
URL 경로를 함수와 연결 |
render_template() |
HTML 템플릿 렌더링 |
request |
사용자 입력 받기 |
send_file() |
파일 다운로드 |
| Jinja2 | 템플릿 엔진 |
📁 Flask 프로젝트 구조
my_flask_app/
├── app.py              # 메인 애플리케이션
├── templates/          # HTML 템플릿
│   ├── index.html
│   ├── result.html
│   └── list.html
├── static/             # CSS, JS, 이미지
│   └── style.css
└── uploads/            # 사용자 업로드 폴더
🎯 Flask 개발 흐름
1. 라우팅 정의 (@app.route)
   ↓
2. 사용자 입력 받기 (request.form, request.files)
   ↓
3. 데이터 처리 (파싱, 번역, 변환 등)
   ↓
4. 템플릿 렌더링 (render_template)
   ↓
5. 결과 반환 (HTML, 파일 다운로드)
🚨 개발 주의사항
⚠️ debug=True는 개발용만
# 개발 환경
app.run(debug=True)

# 프로덕션 환경
app.run(debug=False)
⚠️ 파일 업로드 보안
- 파일 확장자 검증
- 파일 크기 제한
- 악성 파일 필터링
💡 실무 활용 사례
📌 자동화 서비스
- RSS 뉴스 수집 서비스
- 파일 형식 변환 서비스
- 대량 파일 처리
📌 문서 생성 서비스
- 수료증 자동 발급
- 계약서 생성
- 보고서 자동 생성
📌 파일 관리 서비스
- 파일 업로드/다운로드
- 대량 파일 압축
- 파일 메타데이터 표시
마지막에는 배웠던 거 다 때려박는 느낌이라 좀 빡셈...
'SK Shieldus Rookies 29' 카테고리의 다른 글
| [SK shieldus Rookies 29기] 9일차 (0) | 2025.12.04 |
|---|---|
| [SK shieldus Rookies 29기] 8일차 (0) | 2025.12.04 |
| [SK shieldus Rookies 29기] 6일차 (0) | 2025.12.04 |
| [SK shieldus Rookies 29기] 5일차 (0) | 2025.12.04 |
| [SK shieldus Rookies 29기] 4일차 (0) | 2025.12.04 |
'SK Shieldus Rookies 29' Related Articles
more


